micro / macro examination
Micro Examination

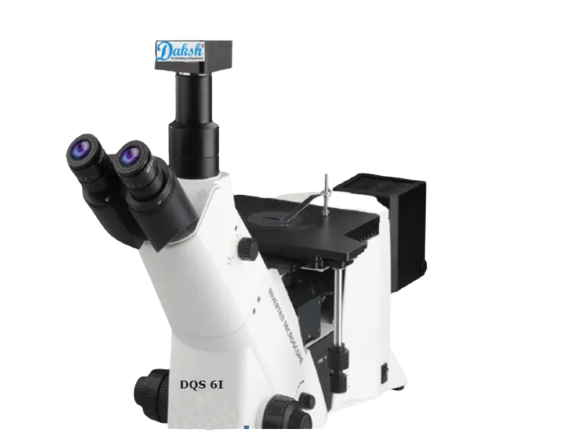
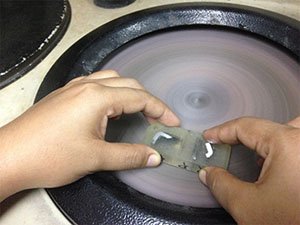
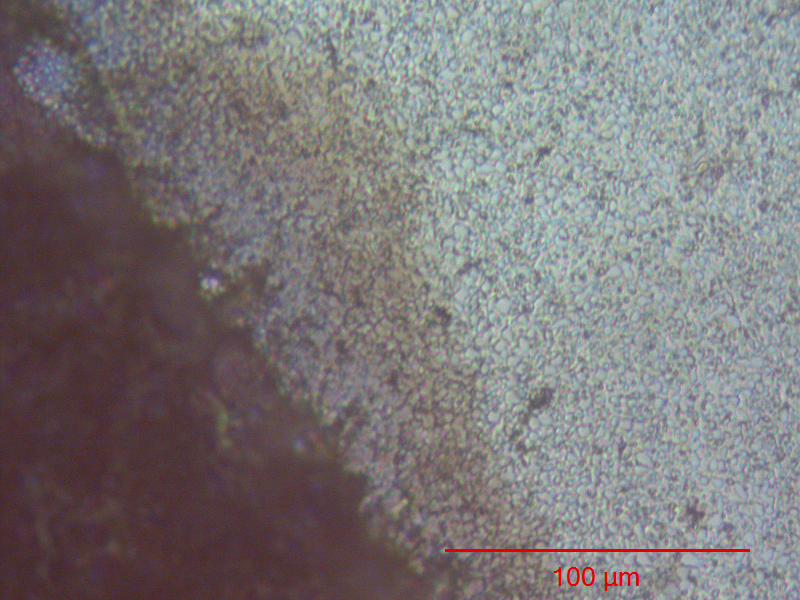
This is carried out on samples that have been either placed on a resin mould or cut to size. These samples are polished to a smooth finish, often using a one-micron diamond paste, and are normally etched in the proper chemical solution before being examined under the metallurgical microscope. The most frequent use of micro examination is to evaluate the material's structure, while it can be used for a variety of other applications as well. Examining for metallurgical anomalies such third phase precipitates, excessive grain development, etc. is also routine. Along with micro-examinations, numerous standard procedures including phase counting and grain size analysis are carried out.
Tests we cover:
- Micro Examination with Photographs
- Micro Examination for Welded Pipes
- Macro Examination for Forgings, Mockups, Fillet Weld, Grain Flow
- Macro Examination for Pipes

Macro Examination
A specimen is etched during macro-etching, and macro-structural analysis is performed at low magnifications. It is a method that is widely used to assess steel goods like billets, bars, blooms, and forgings. For both carbon and low alloy steels, there are many methods to analyze a steel specimen using a graded series of images that demonstrate the occurrence of specific circumstances. Depending on the type of investigation, a variety of different etching reagents may be utilized. Because of differences in chemical composition, manufacturing processes, heat treatment, and many other factors, steels respond differently to etching solutions.
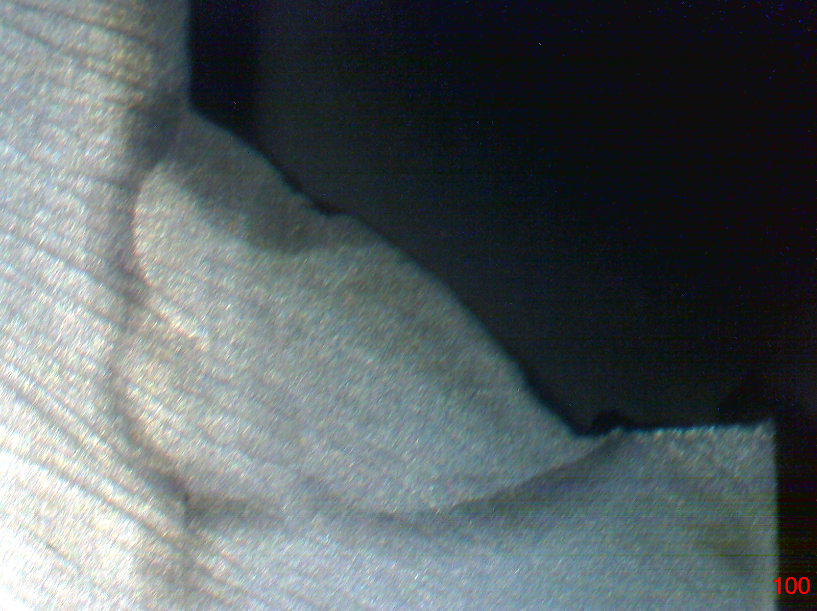
On polished and etched cross-sections of welded material, macro examinations are also carried out. The weld run sequence, which is important for weld procedure qualifications tests, can be identified throughout the inspection together with other elements. In addition, any flaws found on the sample are examined for compliance with relevant criteria. Among the characteristics seen in this kind of study include slag, pores, a lack of weld penetration, a lack of sidewall fusion, and a poor weld profile. Such flaws are procedurally detectable, either through routine visual inspection or up to 50X magnification. Another common practise is to take a photo of the portion to serve as a permanent record; this is called a photo macrograph.


Standards we tested to
| Sr. No. | Discipline: Micro / Macro Examination | Test Methods |
| 1 |
Macrostructure Examination |
IS11371: 2022, ASME SEC IX: 2021 |
| 2 |
Macroscopic Examination |
ISO 17639: 2022, IS 3600-9: 2022, AWS D1.6/D1.6M: 2017, AWS D1.1/1.1M: 2020 |
| 3 |
Microstructure Examination |
ASTM A247: 2019 |
